The Ancient (underrated) Art of Fixing Holey Socks
Socks! They get holes! Its terrible! I, for one, never buy expensive socks because I know they’ll eventually have to be thrown out. Until now.
I have rediscovered an ancient craft called darning, a practice where you patch a hole by using thread to weave a patch directly in the fabric. It sounds a bit daunting, but it’s actually relatively quick (half hour for a medium sized hole) and really easy!
One of the best things about darning is that you can be as messy as you want and still have a perfectly functional patch. I’ve just started, and I’m not particularly good at it, but it doesn’t matter! As long as you’ve got the patience to darn, you can do a darned good job. (I’m so sorry, I had to)
One of the other best things about darning is that you won’t have to buy new socks, so its a relaxing, stay-at-home way to subvert capitalism. Hooray!
The Tools:
- A needle (the longer the better)
- Thread (the thicker the better — but not yarn)
- Needle threader (in case you’re using thicker thread)
- Scissors
- A darning egg (alt: a foot-shaped rock, a small maraca, etc)
- A sock with a hole

I’ll get deeper into the tools a little further down, because there are types of thread and needles that make for a better job. But before that I’ll explain how this works.
The Method:
You can darn small holes, large holes, or fabric thats simply worn thin. Either way, the technique is mostly the same. As I said before, your goal is to weave a patch out of thread directly in your fabric, covering your hole or thin spot to reinforce, patch, and make sure it doesn’t get any worse. The pattern looks something like this:
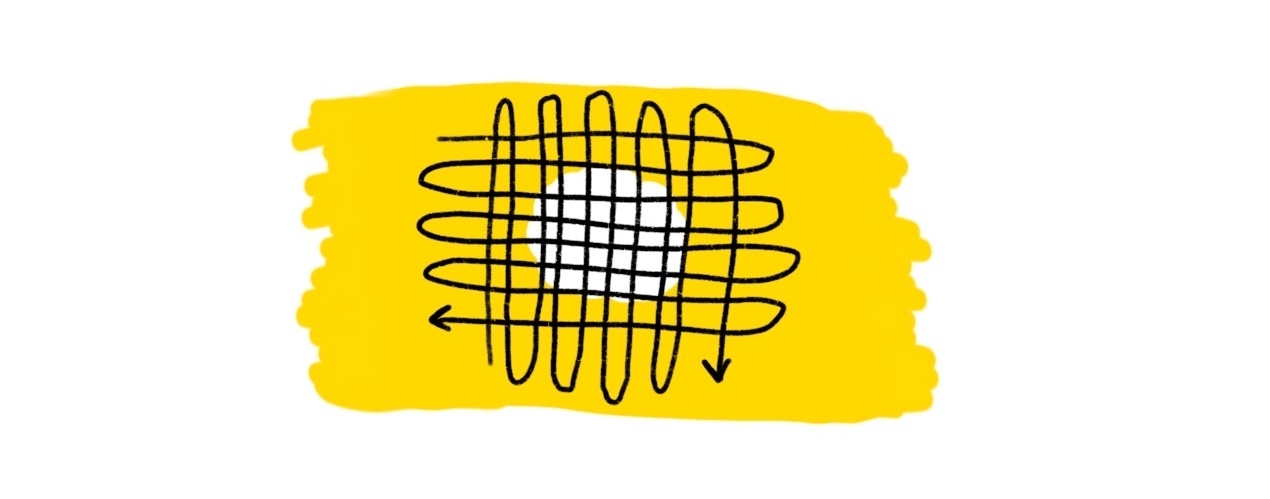
Looks like a lot of work? Don’t worry, there’s a trick! Darning uses a running stitch which is just a bunch of stitches in a straght line. This is super convenient because that means you can load a bunch of stitches on your needle all at once. It take a little bit of practice, but its a shallow learning curve. Observe:
While you’re working, you might run out of thread prematurely. When you do, don’t tie off any knots! You know how annoying it is to have a tiny pebble in your shoe? Well, thats what a knot tied on the bottom of your sock would feel like. Instead, we just let the ends of the thread hang. You can cut the end short and it’ll be fine, because a running stitch like this actually IS a finishing technique in itself. Nice! So, when your thread runs out and you need to switch in a new piece, don’t tie them together or anything, just let the ends hang out and all will be well.
The last important thing is to always use a darning egg or something smilar! A darning egg is essentially just a piece of wood with a handle that has similar curves to an actual foot. You put it inside the sock while you’re working on it so it holds its form. I don’t have one yet, so I’ve been using a fist-sized rock I had laying around that seems to do the job pretty well.
This is an essential part of the process for two reasons. 1, you don’t want to accidentally sew through both sides of the sock or stab yourself. 2, its very important to stretch the sock as you go. If your darned patch is tight, your sock will lose its stretch and might not fit your foot!
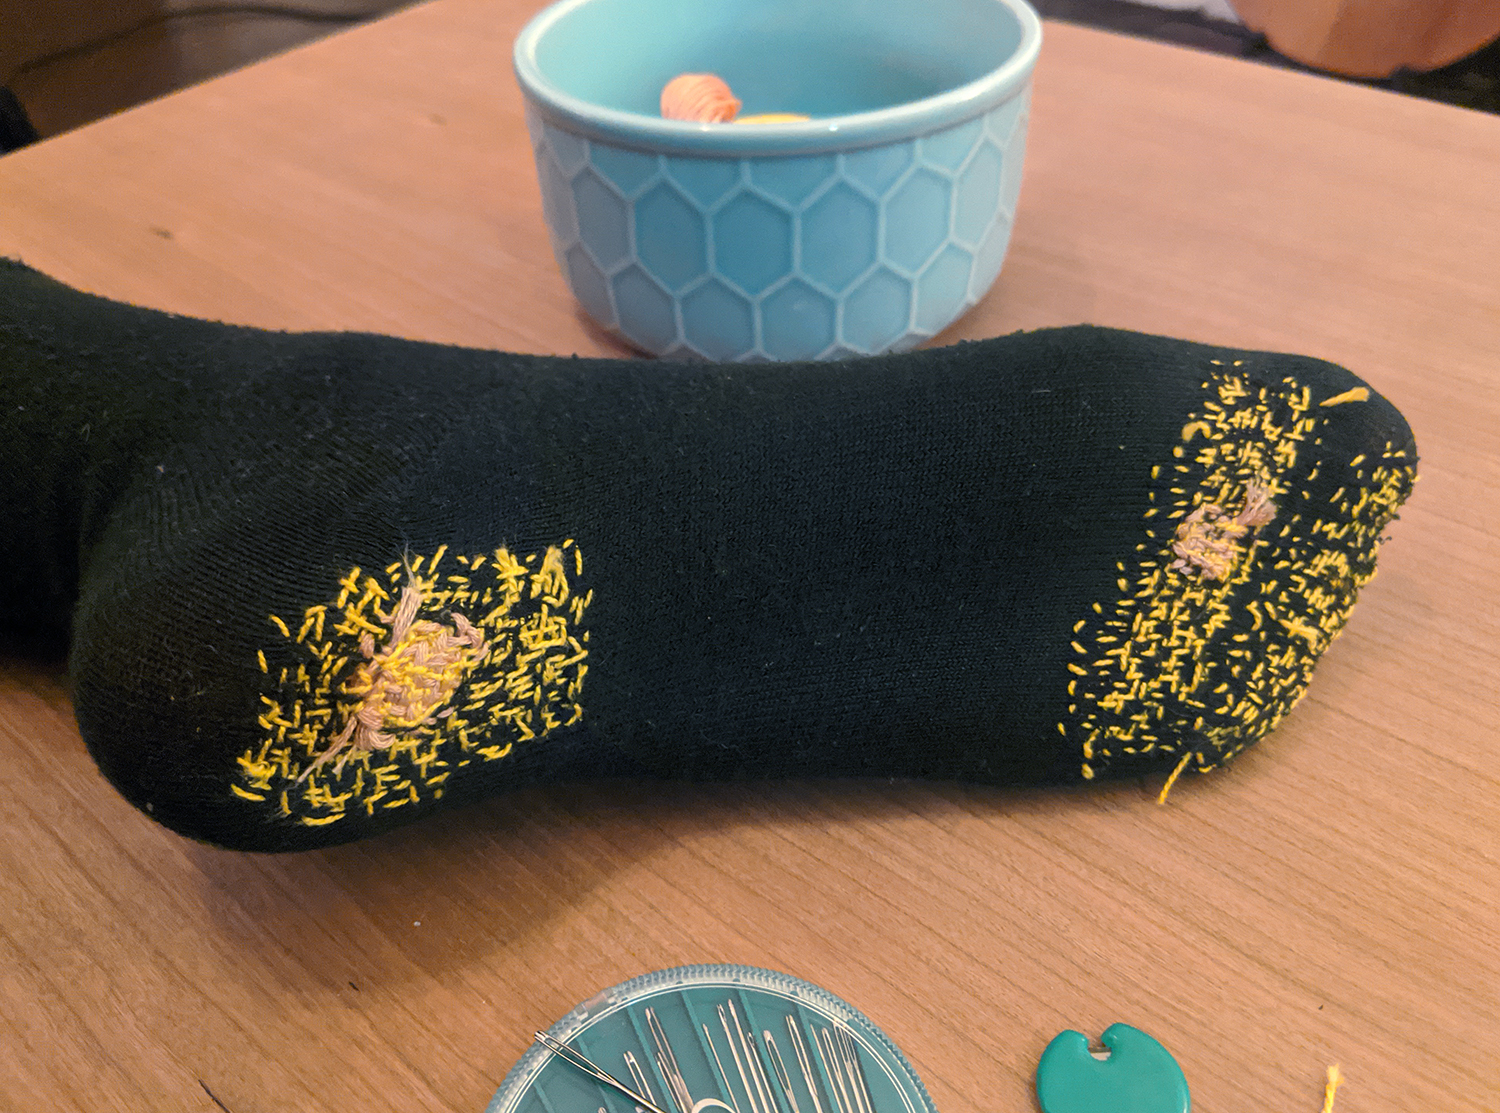
Here are some pictures of a sock where I used the pattern I drew above:

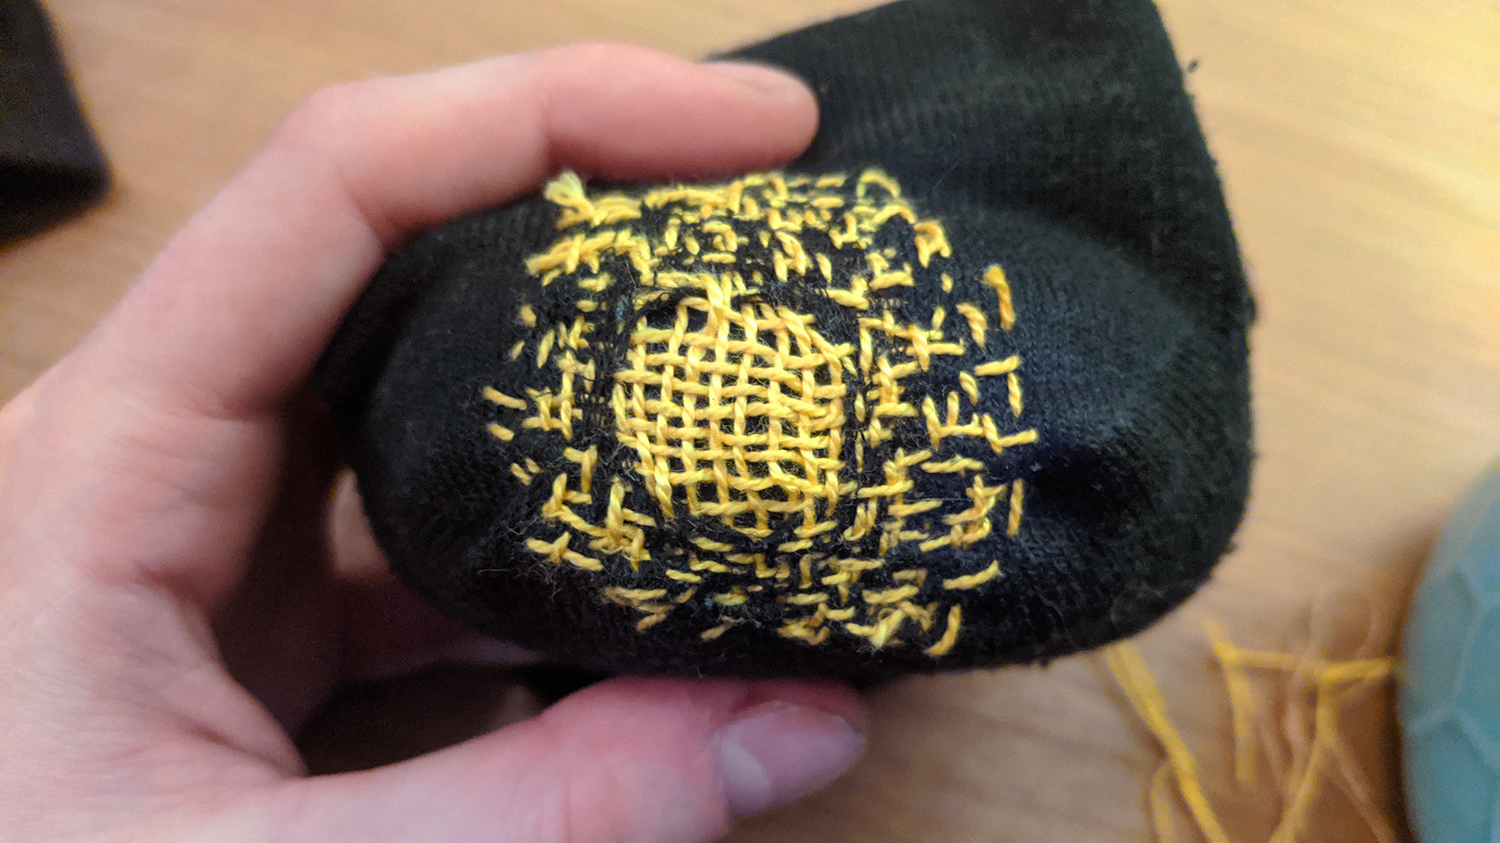

And the final product! What a sock!
More details about the thread and needles:
Your Thread
During my first go with darning, I used some all-purpose thread I had lying around. It certainly worked, but it lacked cushiness and softness. I went supply hunting last week and asked an employee about darning thread and darning needles. She told me they don’t sell them anymore because nobody darns. Hmmm. I got some good advice anyway, though!
I ended up taking home two types of thread:
- Pearl cotton thread, size 8 (yellow, pictured above)
- Embroidery floss (pink, pictured above)
They are both a little bit thicker than you might imagine for sewing into fabric, but they are soft and cushy and work great.
I use the pearl cotton thread over the entire area, since its slightly thinner than the embroidery floss.
I was much more sparing with the embroidery floss, and used it specifically inside the actual holes. It was really useful because, as you can see, I’m not doing the tightest rows in the world here. When I sew over a completely bare hole, there are small gaps left, and thats where the embroidery floss comes in. After doing my first pass in yellow, I went back over the hole itself in the pink embroidery floss, which resulted in a colorful and effective patch that matched the thickness of the rest of the sock.
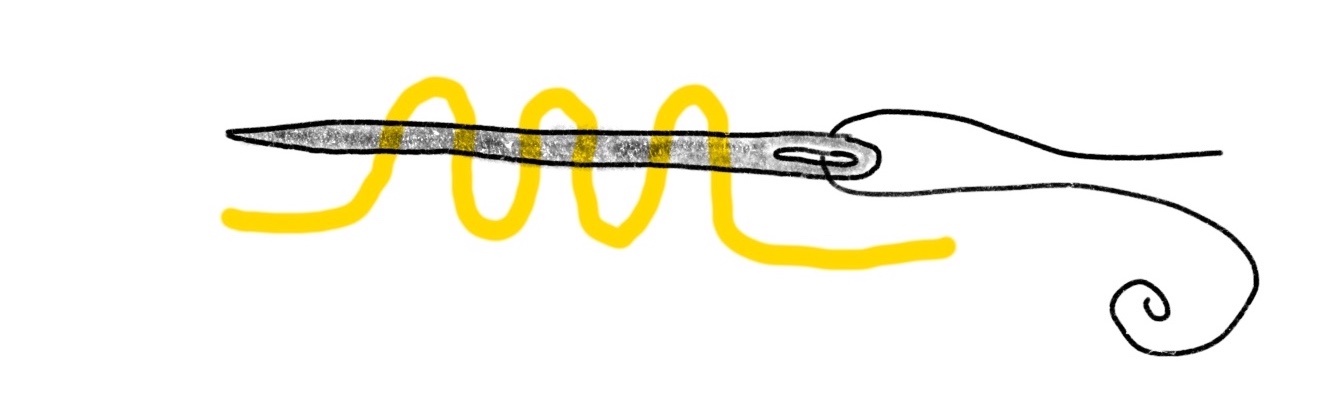
Your Needle
If you hang out in your local craft store for a while, you will notice that there are about 1 billion types of needles that exist, so I asked for help with this, too. They didn’t have a classic darning needle, but my helpful new friend directed me to some good alternatives.
So far I have used both the embroidery needle and the tapestry needle. They both have really big eyes (which is useful because the thread I’m using is much thicker than average) and are fairly long. The difference is that the embroidery needle has a very sharp tip, and the tapestry needle is blunt.
Why both? A sharp tip makes for easy sewing throught the fabric of the sock, however, it will also go straight through the center of existing thread, which can weaken it. I’ll take the trade-off most of the time, but when I’m going over a hole with embroidery floss, I want to maintain the integrity of the thread I’ve already sewn across, so a blunt tapestry needle is perfect.
And that’s pretty much everything you’ll need! I hope this guide was helpful, your feet will thank you if you put these skills to use. Send me an email, I’d love to see your beautiful holey socks!
Love,
Milo